
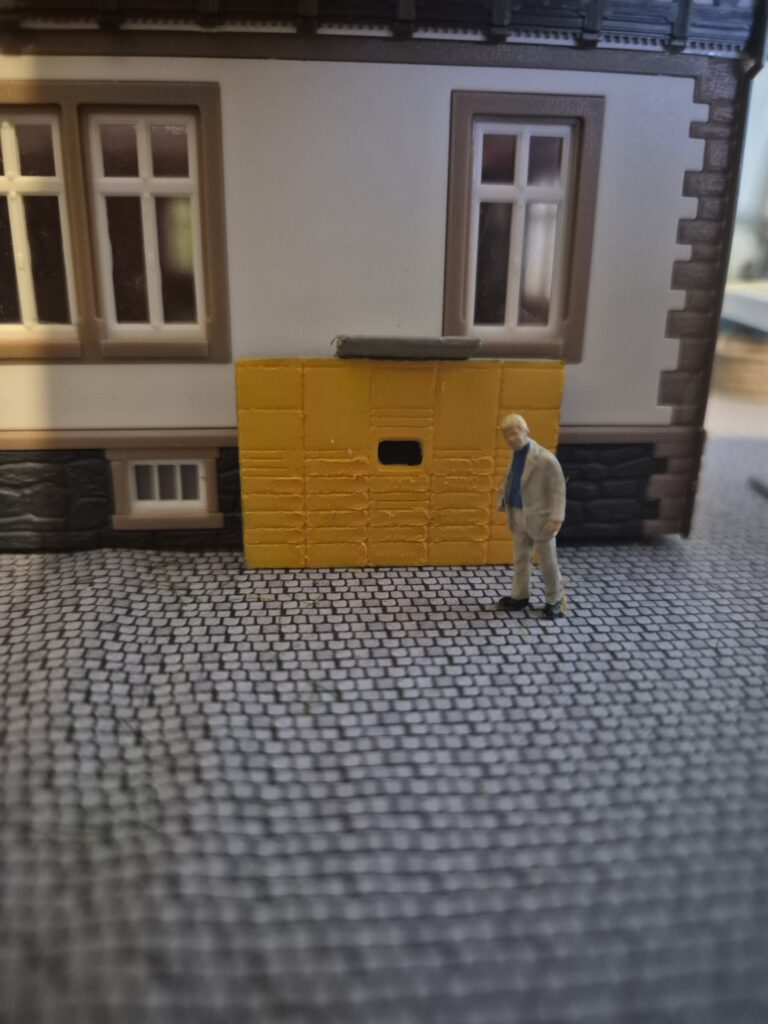
RailCraft3D model

Parcel station

Buy model

STL file on Cults3D

Price2,00 €

Model details

Dimensions after assembly (HxWxD)
custom, at least 27x21x10mm
Minimum build plate size
24×7 mm
Special print settings
Layer height: 0.08mm
Wall generator: Arachne

Description

The parcel pickup station, also known as a Packstation, is a familiar part of everyday life for many people and a feature of the modern cityscape.

This model is just as individual as your model railway layout. You receive three different modules that you can arrange in your slicer or another 3D program in the way that best suits your layout.

Whether as a small parcel station, especially large, or arranged in a U or L shape, there are no limits to your imagination. Thanks to its low filament consumption, the model is also ideal for making good use of the last few metres of a PLA spool.
Instructions

Customize

Using your slicer software or another 3D program, first create a digital version of your individual parcel station.

In the slicer:
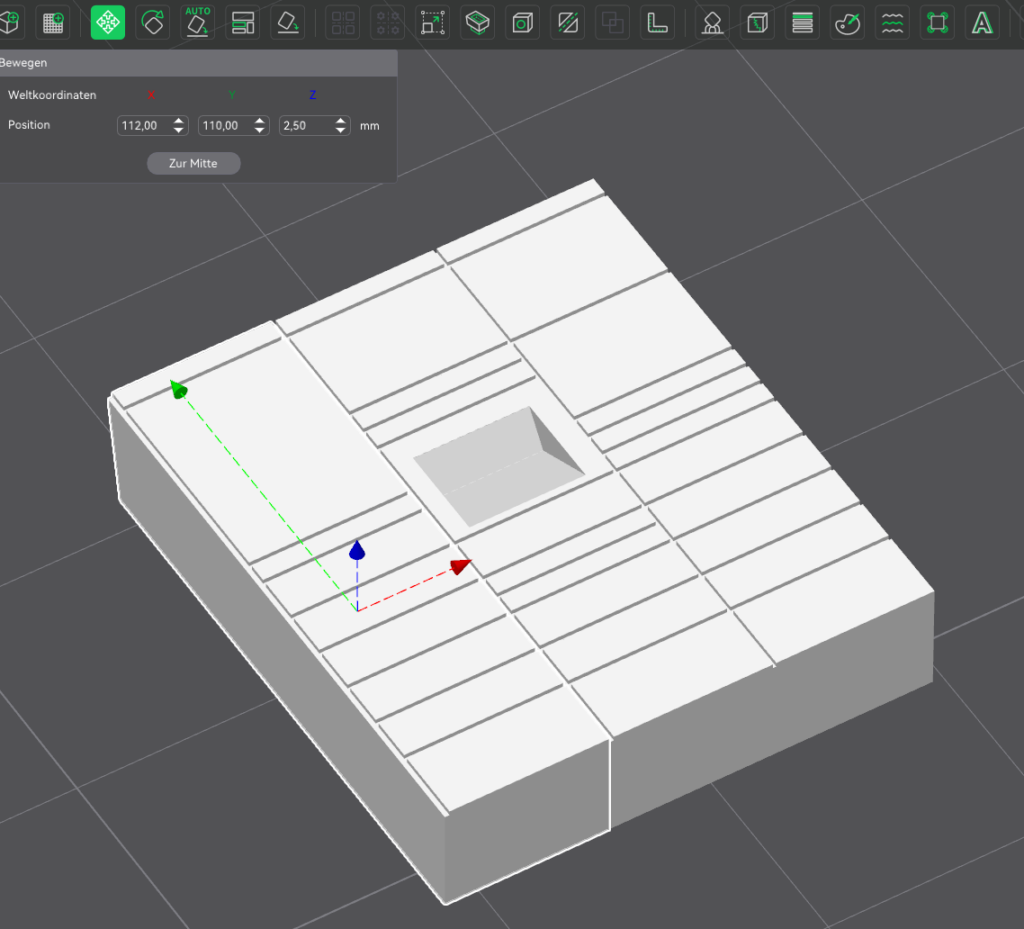
Move the desired modules together until there is no gap between them. Make sure all modules have the same Y value.

Then select all modules, right-click your model and choose “Assemble”.

Microsoft 3D Builder:
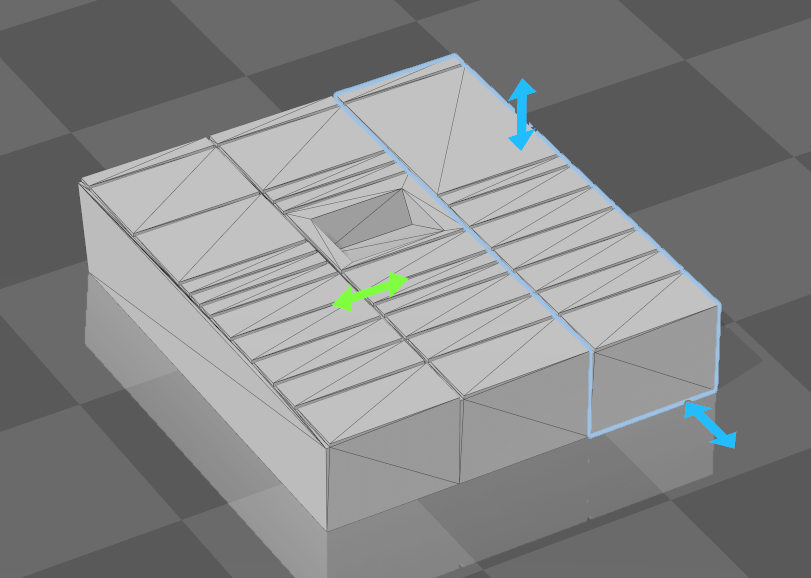
Create a new scene and import all three files whose names begin with “modul-”. Move the modules together and make sure they all have the same Y value.

Then select all modules and choose “Merge” under “Edit”.

You can now export the created model as an STL file via “Save as” and then import it into your slicer.

Alternative:
Print the desired modules individually in the required quantity.

Print

Print your individually created parcel station or the individual modules in the desired quantity. Also print the file “roof.stl” once using the specified print settings.

Glue and finish

Now glue the roof to the top of your parcel station with superglue. Then paint and design your model with colours of your choice.