RailCraft3D model

Public toilet

Buy model

STL file on Cults3D

Price2,00 €

Model details

Dimensions after assembly (HxWxD)
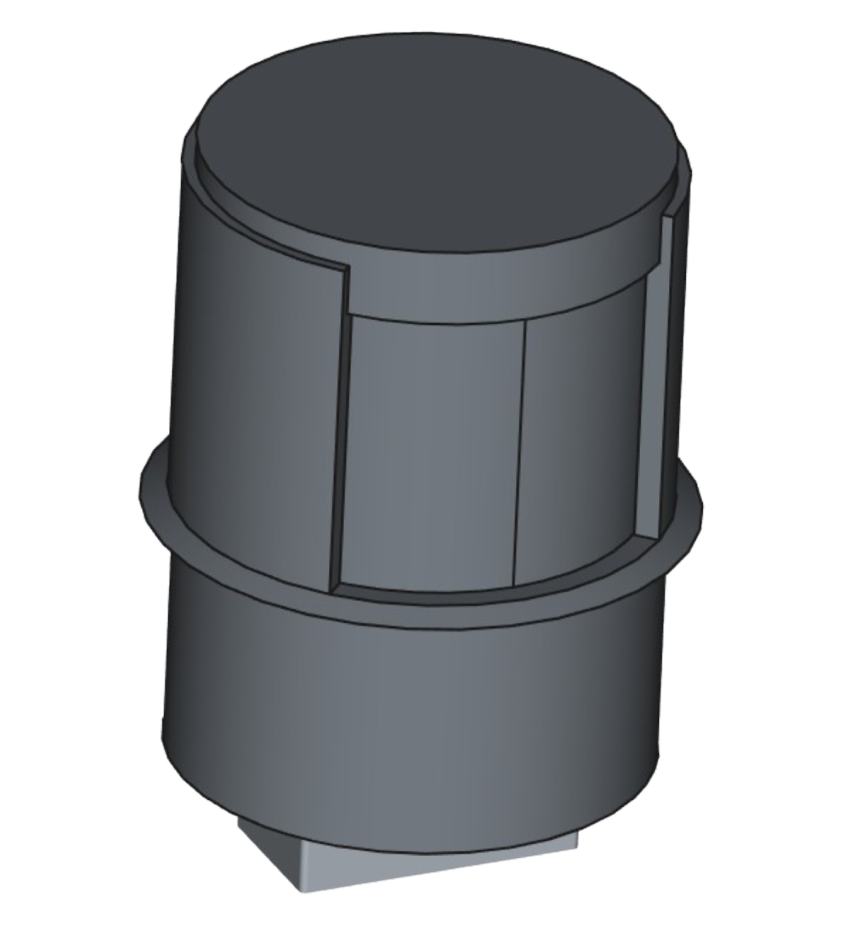
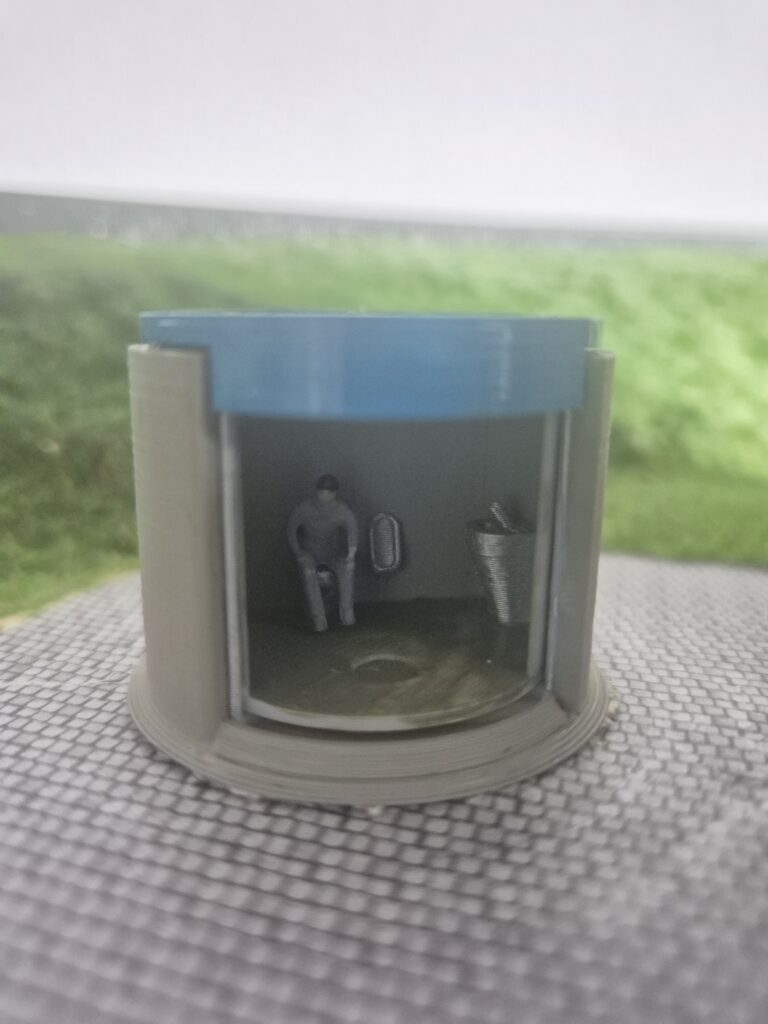
Diameter 42mm, height 30mm
Minimum build plate size
42x42mm
Required technology

Links marked with * are affiliate links. If you make a purchase through them, I may receive a commission; there is no additional cost to you.

Description

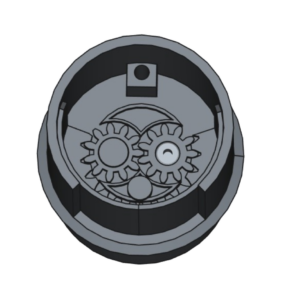
This small toilet building opens its sliding doors at the press of a button and can then be entered. It is a fitting addition to any modern urban scene.

The mechanism is driven by a single SG90 servo and a compatible development board. The provided code can of course be adapted as desired.

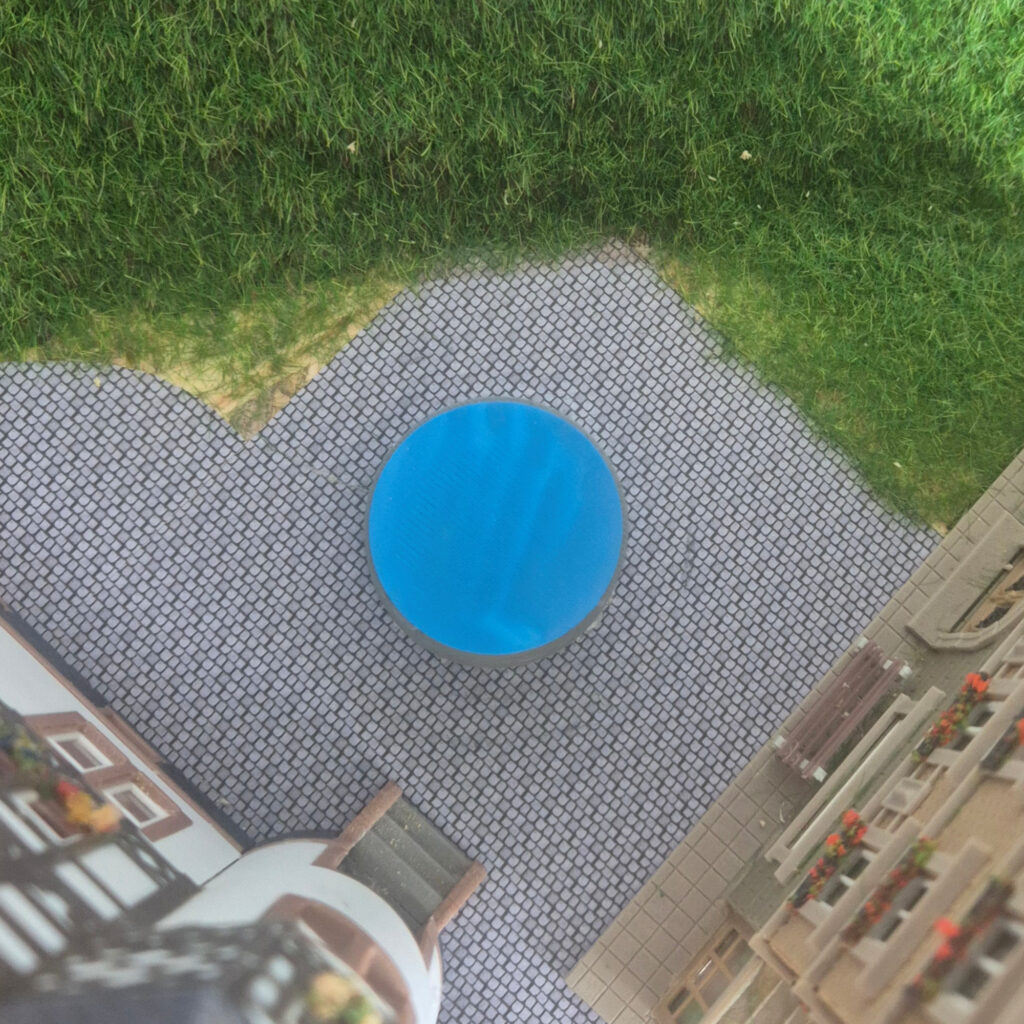
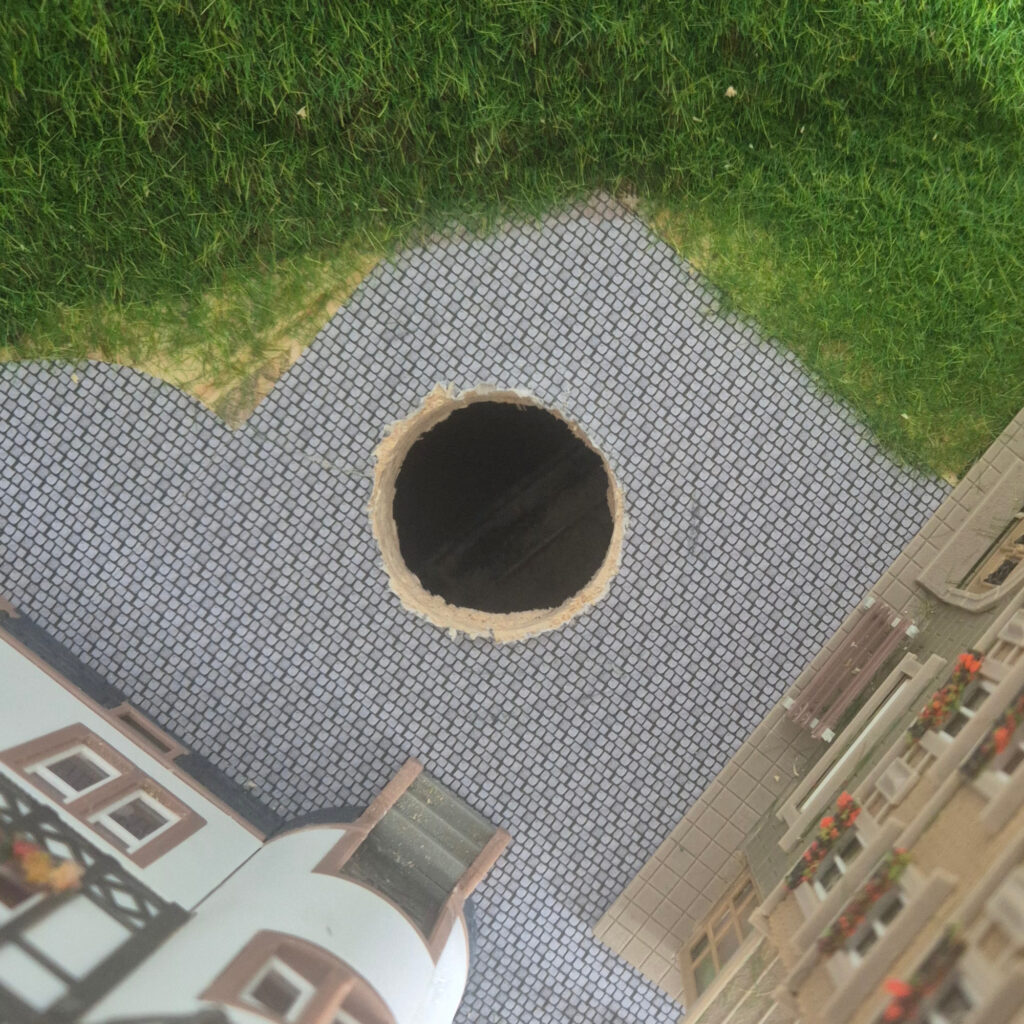
Assembly is straightforward, and most of the technology disappears beneath the layout board. For installation, a hole with a diameter of 38 mm must be drilled into the layout board.
Instructions

Print

Print each component once. No special print settings are required.

Install the servo

Before installing the servo, first connect it to the development board and upload the following code to your Arduino:

#include <Servo.h>

Servo drive;

void setup() {
  drive.attach(9);
  drive.write(20);
}

void loop() {
}

This moves the servo to its starting position.

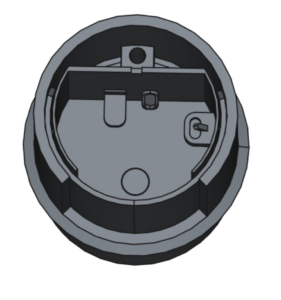
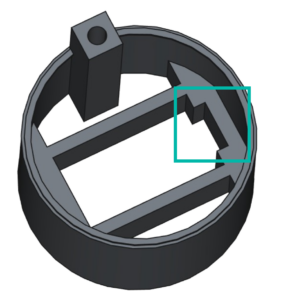
Then disconnect it from the development board again and insert it into the part “MM.stl”. The cable is routed toward the side with the recess. The servo is neither glued nor screwed in place.

Outer wall and mechanism

Now place the part “AW” onto the ring with the servo. Glue the top of the part “MM” to the underside of “AW”.

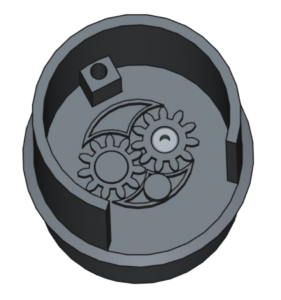
Next, insert the two gears. First place “ZR” onto the servo and then “ZL” onto the left pin in “AW”. Neither gear is glued or screwed in place, and both should be able to move freely.

Insert the doors

Now insert the two doors “WR” and “WL”. Place them in the intended guide rails and guide them into the gears.

Make sure the doors are centered at the front and fully closed. The beveled corners of the doors point toward the back.

Interior assembly

Now position the part “IW” inside the model. Do not use glue here either, so the gears are not accidentally glued in place.

The roof

Now place the roof “D” on top and glue it to the outer ring of the part “AW”.

Fine-tuning and installation

Now install the final code on the development board and then connect the servo to the board.

You can fine-tune the end positions of the doors using the following lines of code:

int min_pos = 20;
int max_pos = 120;

You can increase or decrease the values “20” and “120” as needed. It is best to approach the desired positions in single-step increments. After every change, you must upload the code to the development board again.

The variable “min_pos” defines the end position of the doors when closed, while “max_pos” defines the end position when open.

When you are satisfied with the result, you can integrate the toilet into your layout. To do this, drill a hole with a diameter of 38 mm into the layout board using a hole saw, then place the toilet into the opening.

Install firmware

  1. Connect the appropriate microcontroller to your computer via USB.
  2. Open this page in Chrome or Edge, then click Install.
  3. Select the displayed serial port and wait until the transfer is complete.
This browser does not support installation. Please use Chrome, Edge or Firefox.Installation is only possible via HTTPS or localhost.

Alternatively, you can download the firmware file and install it manually.

Download firmware

SHA-256 checksum: 8c78491db28237faa706aa468e877f35a51db1f221e1dadc3e02e13964f453b5

Firmware source code

License information

Powered by ESP Web Tools 10.1.1
Copyright ESPHome maintainers
SourceApache License 2.0