Links marked with * are affiliate links. If you make a purchase through them, I may receive a commission; there is no additional cost to you.
Description
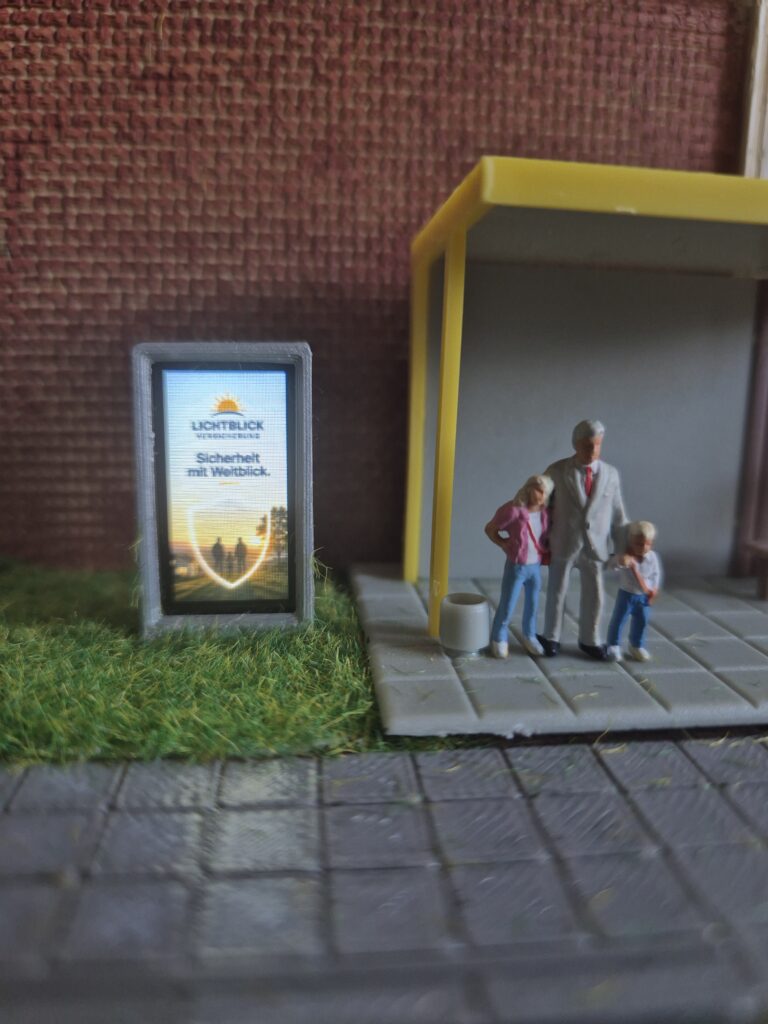
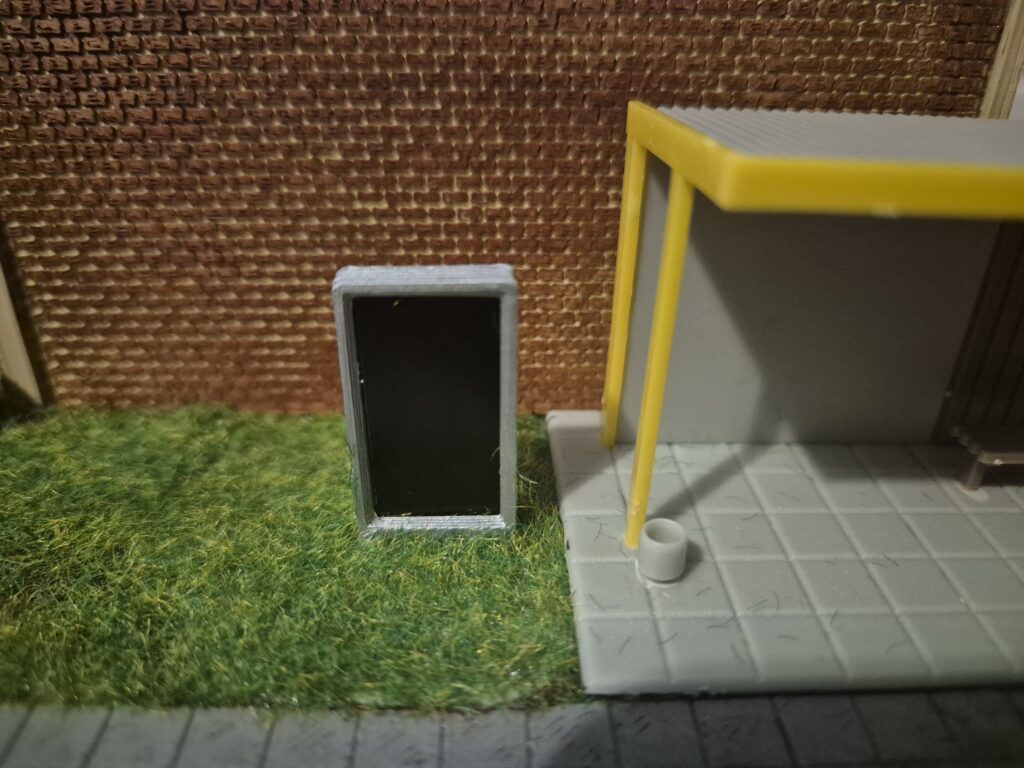
This 3D-printed advertising board belongs on every modern model railway layout. It displays changing posters and is very delicate, with visible dimensions of only 31 × 16 × 4 mm.
The advertising display is automatically supplied with posters from RailCraft3D, so it never gets boring. Alternatively, you can of course adapt the open-source code and show your own posters.
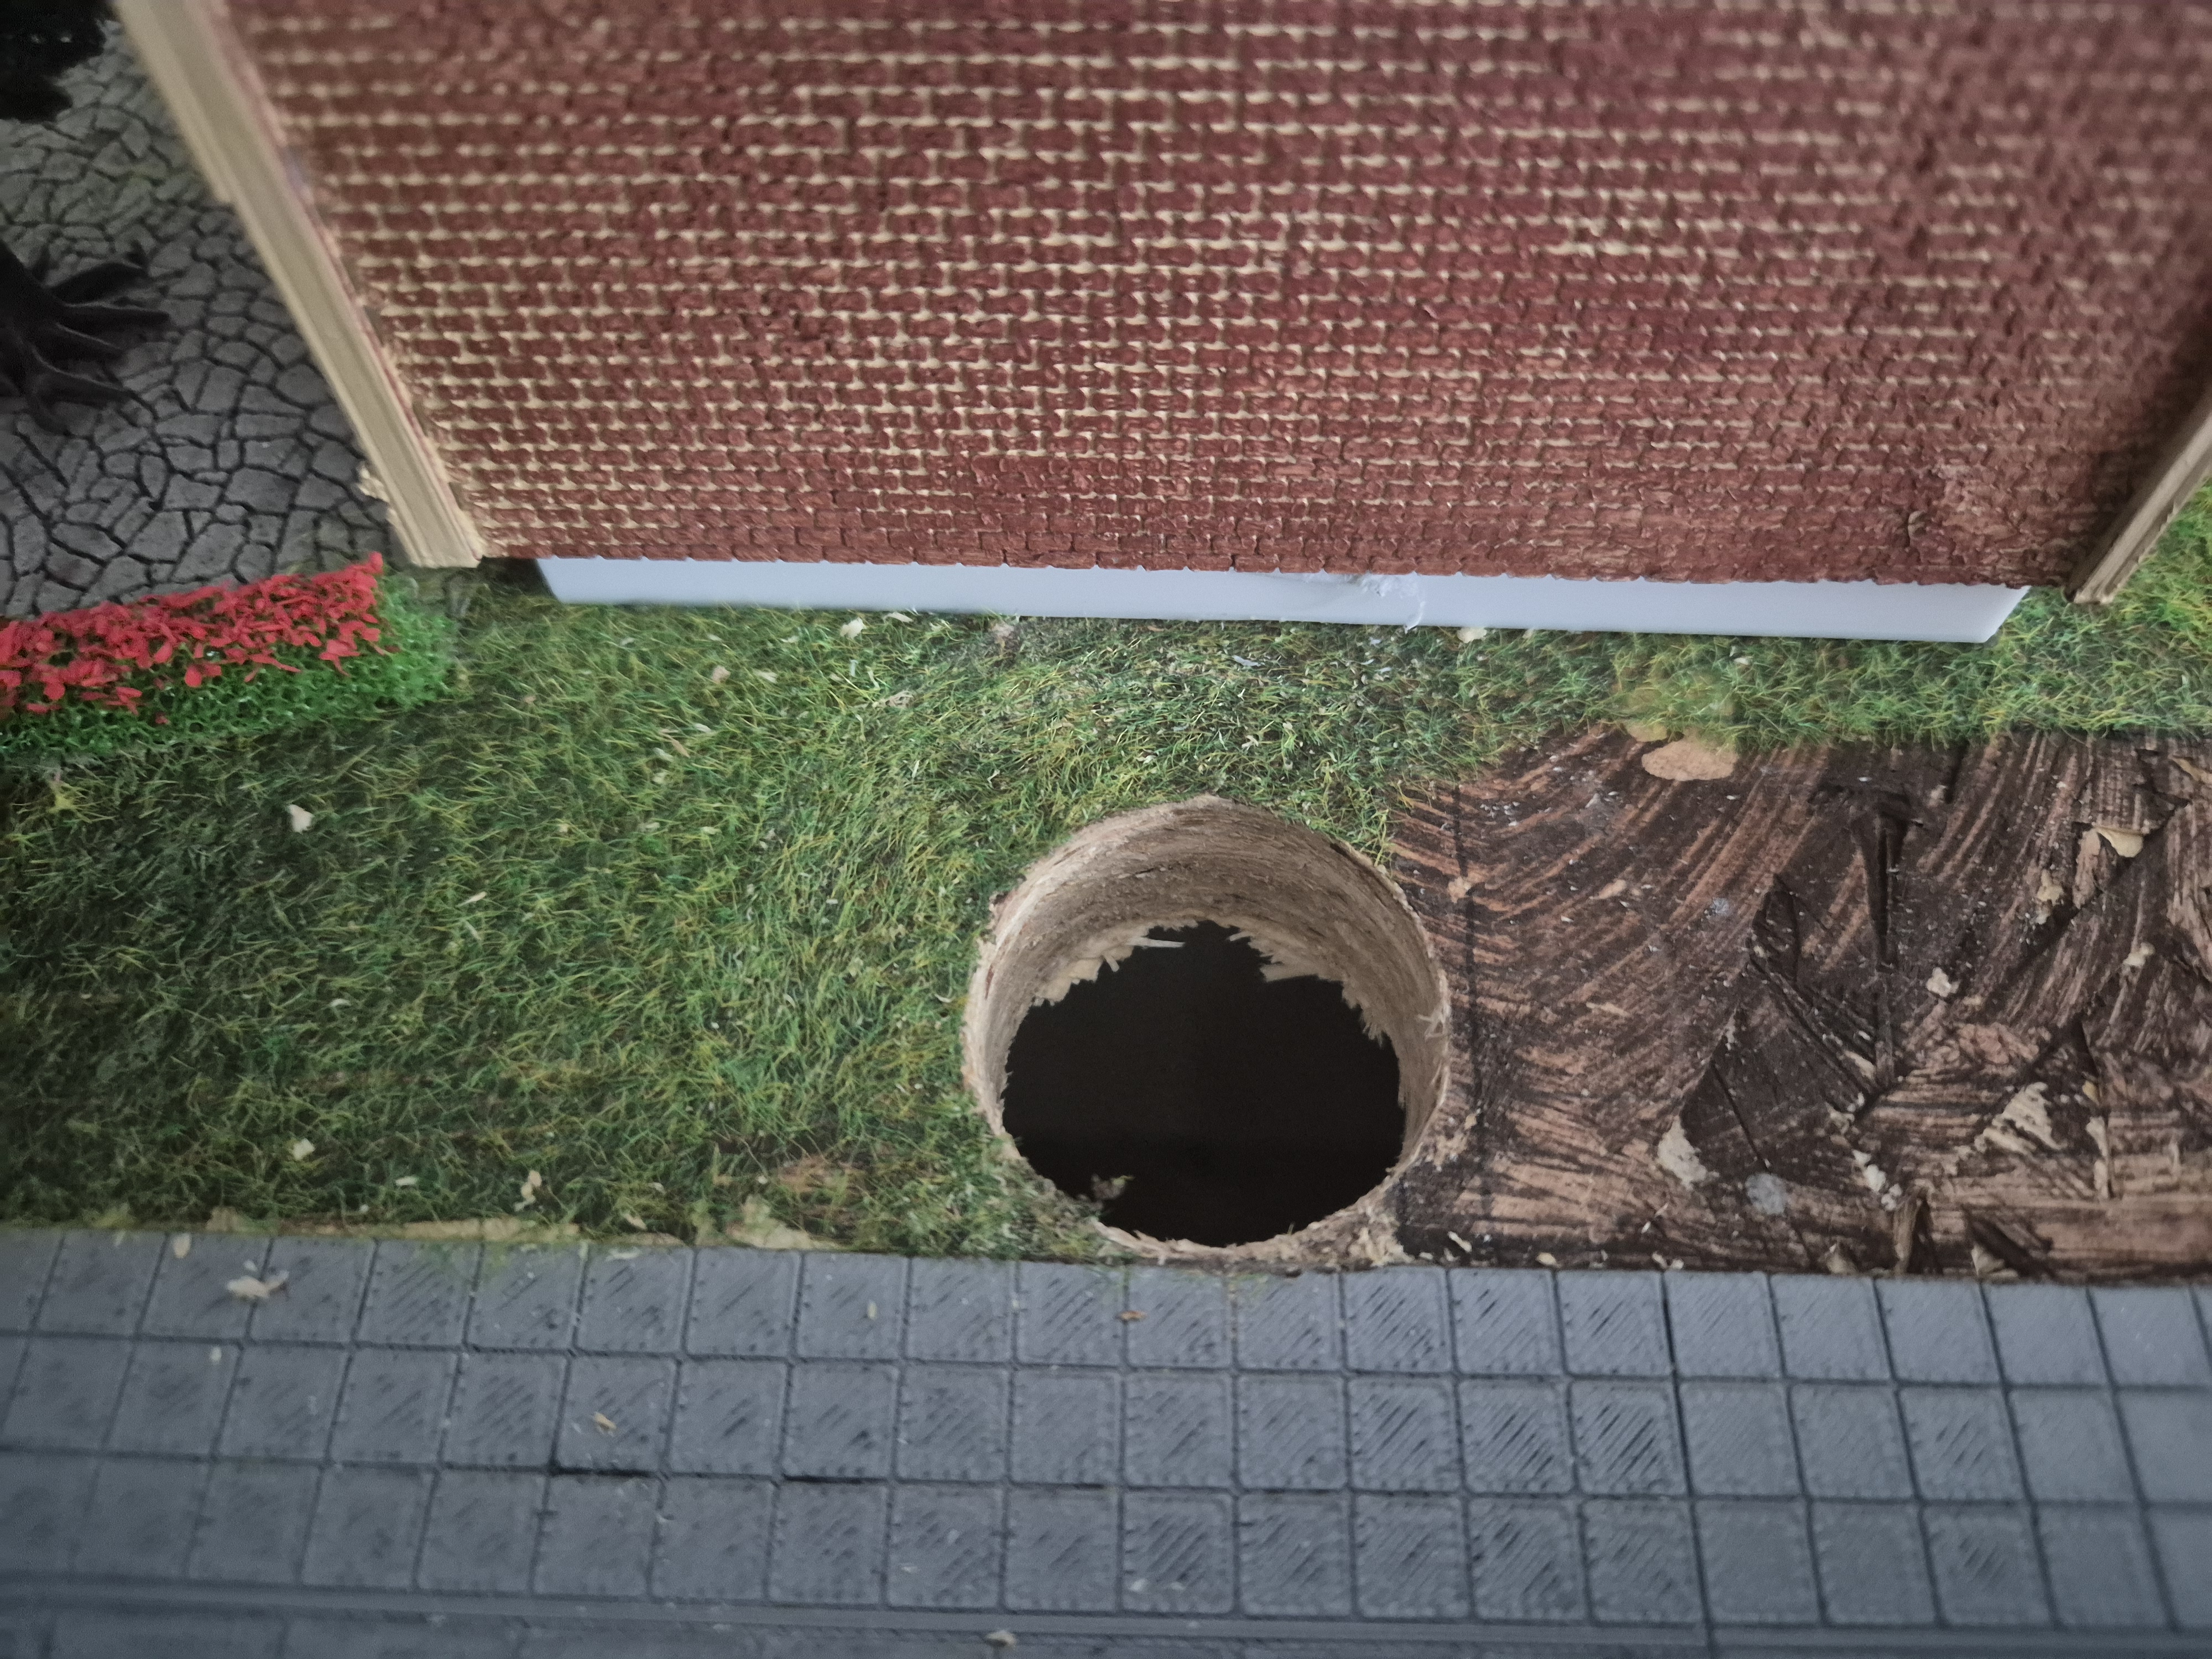
Warning! For installation, you need to drill a 32 mm diameter hole in your layout board. To run the software provided by RailCraft3D, you also need a Wi-Fi connection with internet access.
Instructions
01Print
First print each part from the ZIP file once. No special print settings or support structures are required.
02Prepare the display
If the display is glued to the board, carefully loosen it. Dental floss or a very thin, sharp scalpel are suitable for this.
WARNING! Make sure you do not damage the ribbon cable that connects the board to the display. It is best to work slowly and very carefully.
03Soldering
Now solder the display and the D1 Mini together using eight stranded wires about 5 to 6 cm long. Thin wires of about 30 AWG are suitable for this.
If pins are already soldered to the boards, remove them first. Make sure you solder the wires to the side of the D1 Mini that does not have the silver Wi-Fi module.
The following pins must be connected:
Display
D1 Mini
BLK
D8
SDA / MOSI
D7
SCL / SCK
D5
RES / RST
D4
DC
D3
DS
D2
GND
GND
VCC
5V or 3.3V
Now it is time to test the connection and install the software. Connect your D1 Mini to your computer using a USB cable. Make sure it is not just a charging cable and that it can also transfer data.
Then install the software using the button on the page. Alternatively, you can download the provided INO file and upload the firmware to the D1 Mini via the Arduino IDE.
If everything works, continue with the next step.
04Placement
Now place the two boards on their respective printed holders. The ST7735 board is placed on the part “DM.stl” and the D1 Mini on “D1M.stl”.
You do not need to glue or otherwise fix the boards.
05Merge
You can now slide both boards with their respective holders into the part “TM.stl”. The D1 Mini is pushed into the wider slot, the display into the narrower one.
When sliding in the components, make sure the display is guided through the upper slot of “TM.stl”.
06Complete the display
Now insert the part “D.stl” at the back of the display into the designated slot in “TM.stl” and fix it with a drop of superglue.
Then “DR.stl” is glued to the edge of “D.stl”.
07Prepare the layout board
Now drill a 32 mm diameter hole at the desired position in your layout board. To determine the exact position, you can use the “Helper.stl” template.
The rectangle marks the later position of the advertising board. The dot in the centre shows where the 32 mm drill bit must be placed.
The part “Helper.stl” is no longer needed afterwards.
08Integrate the display
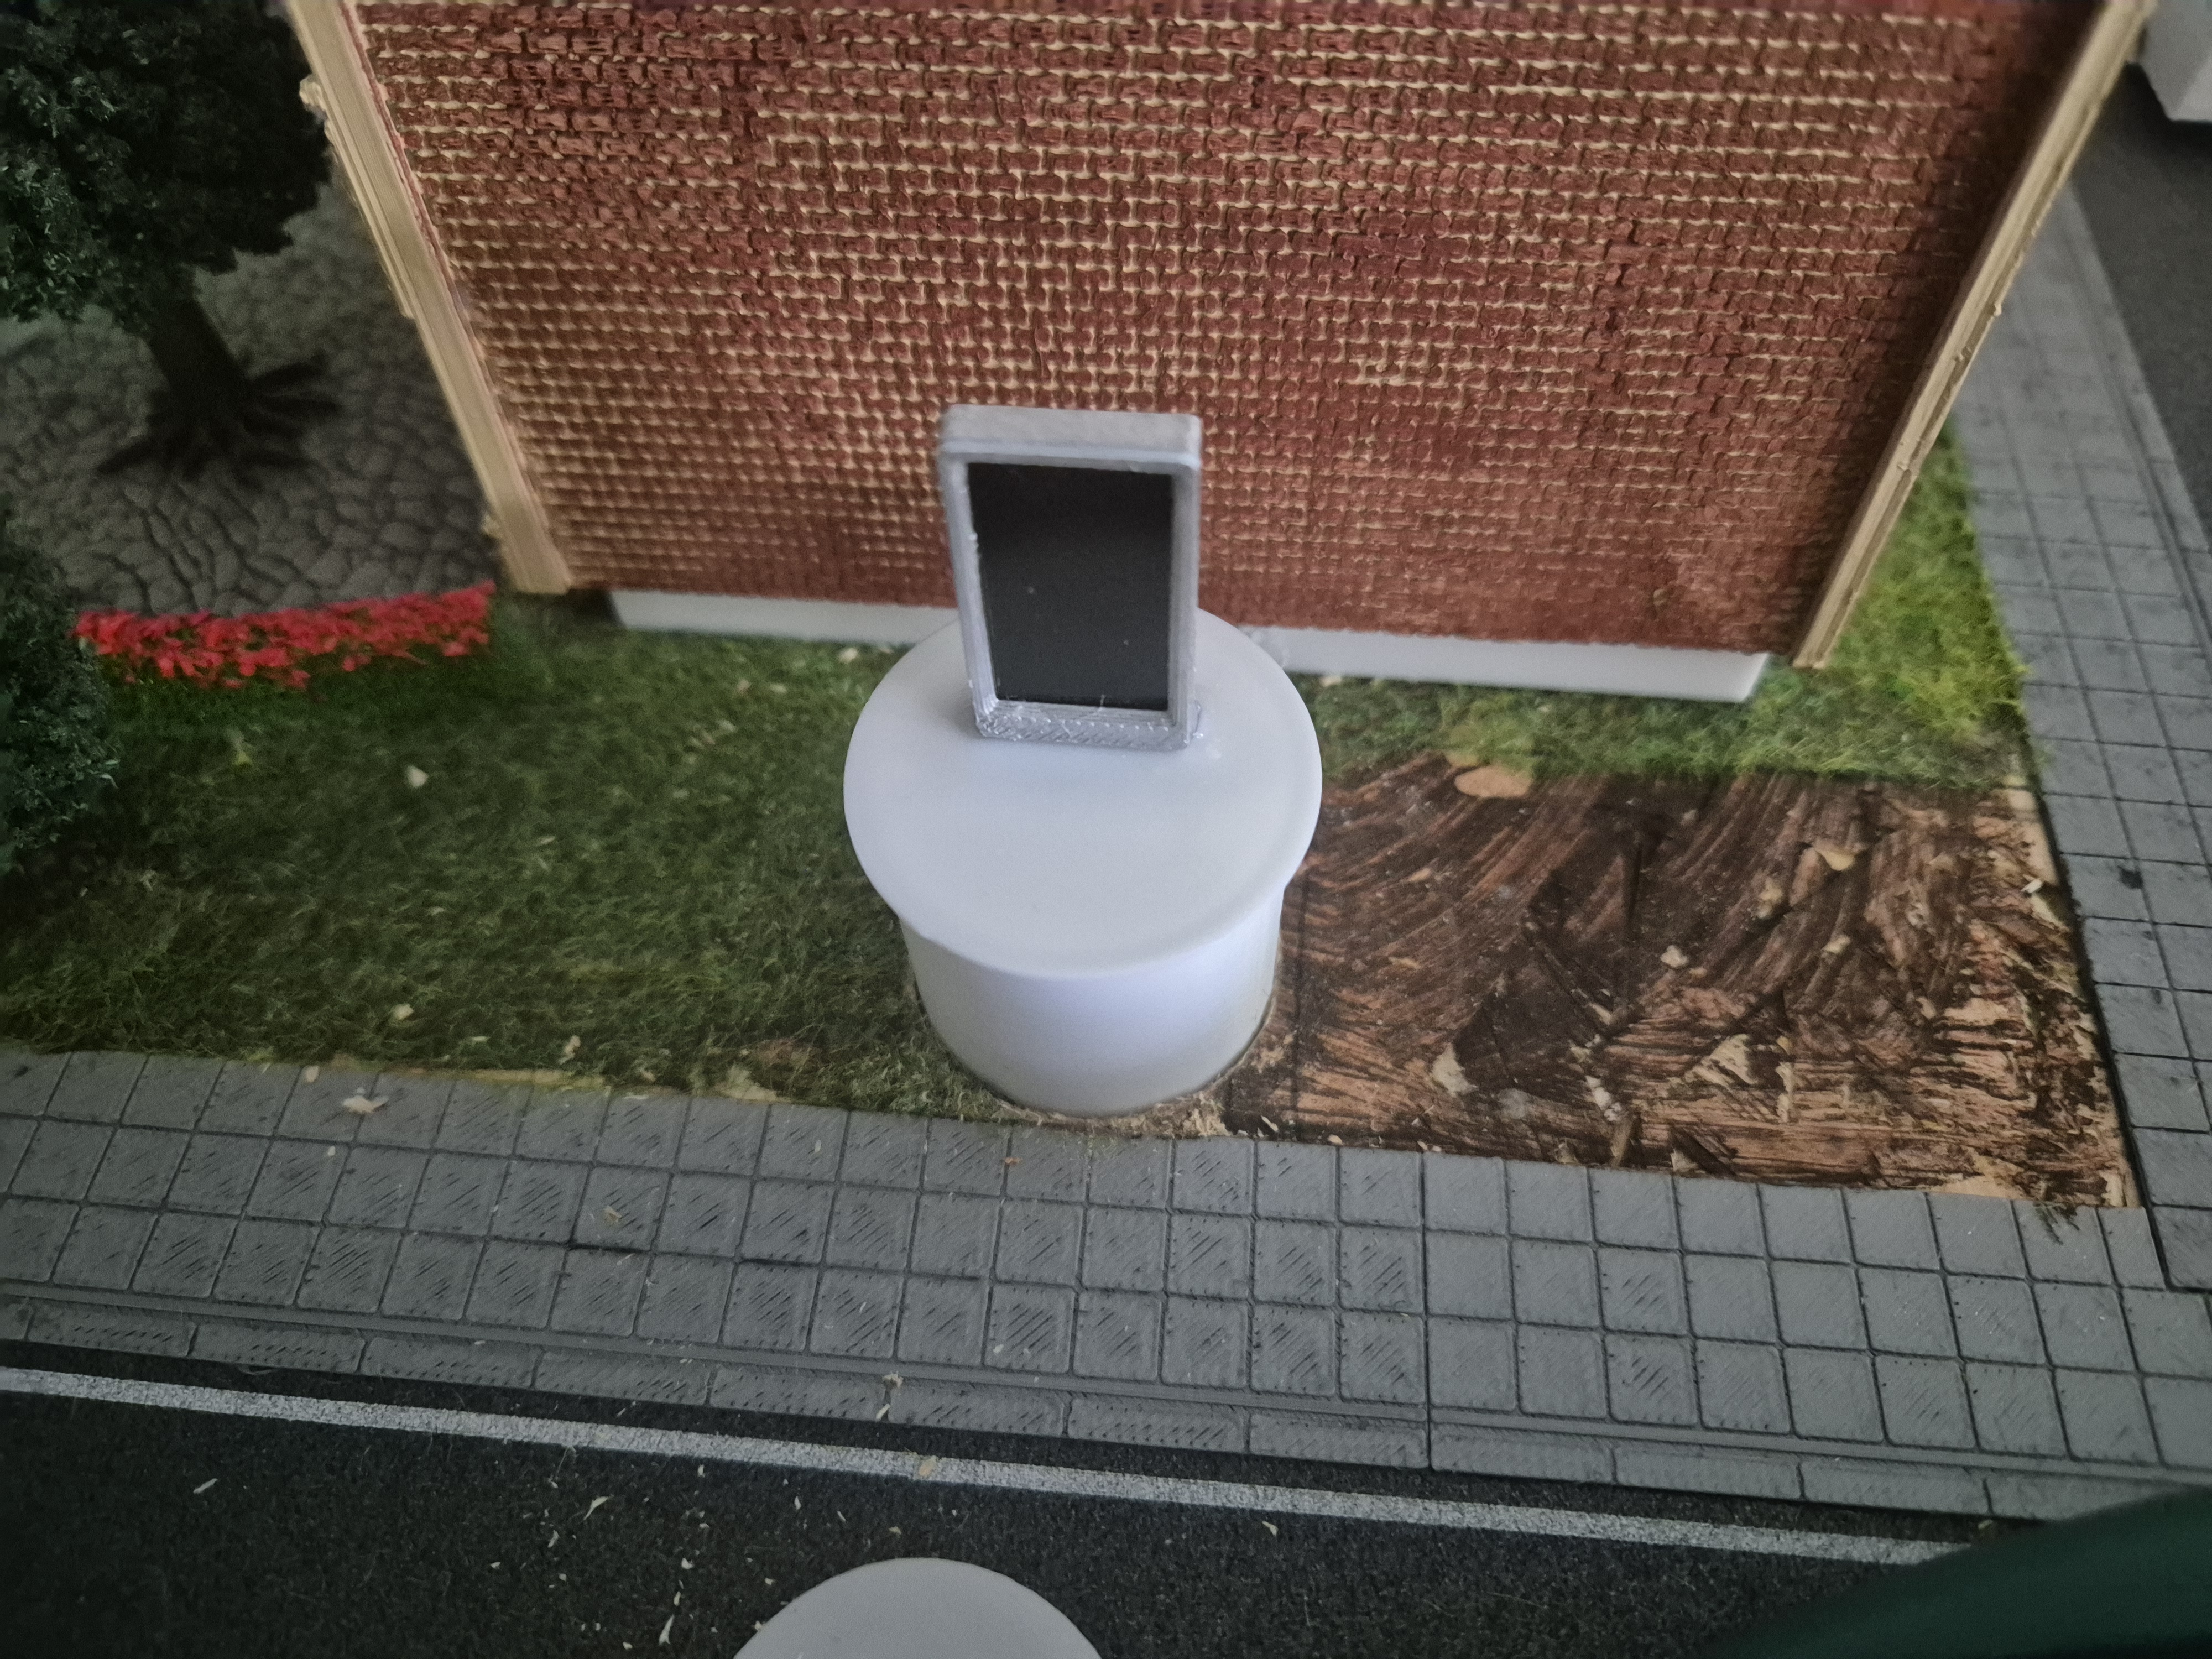
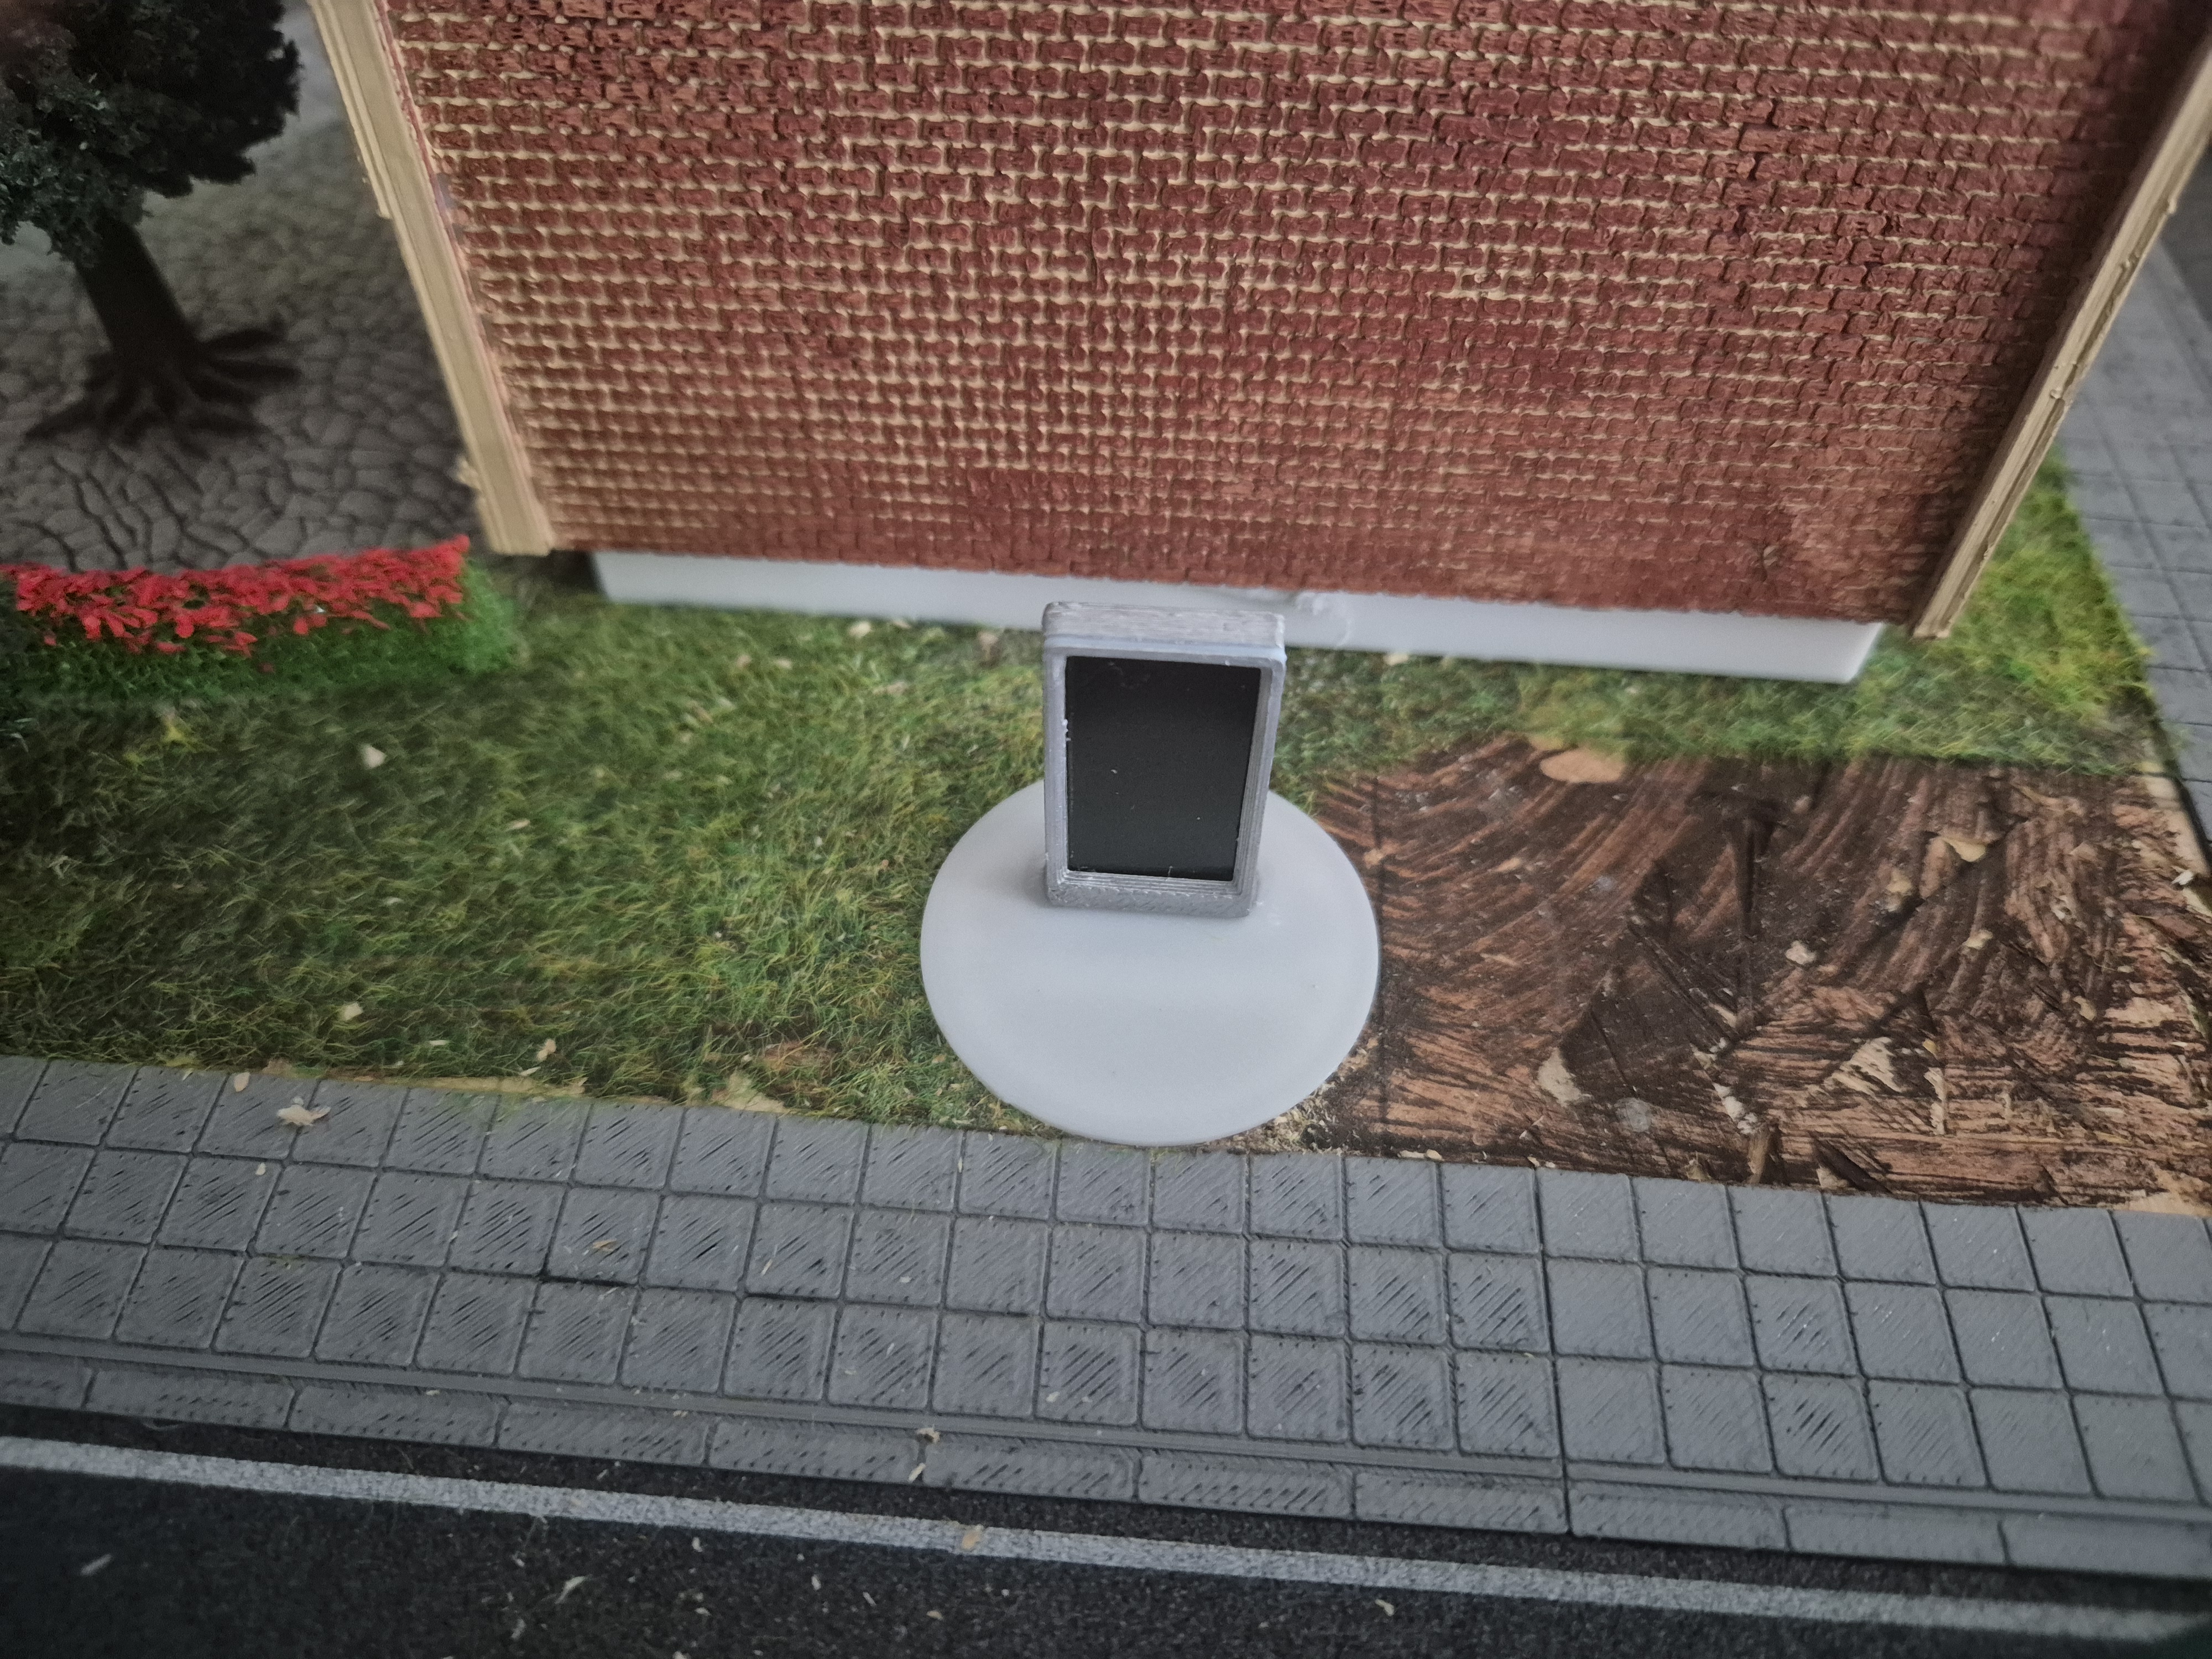
You can now insert your advertising board into the prepared hole.
You can design the surface around the advertising board as you like so that the model blends seamlessly into the landscape.
Then connect the D1 Mini to a 5 V power supply under your layout board using a USB cable.
09The first poster
After a few minutes, your D1 Mini creates its own Wi-Fi network named “RailCraft-Setup-XXXXXX”.
Connect your computer to this network and then open http://192.168.4.1 in your browser.
The string “XXXXXX” is different for every D1 Mini and consists of numbers and letters. It is best to write down this combination.
Use the setup wizard to connect the D1 Mini to your Wi-Fi network. You will need your router’s Wi-Fi password for this.
If the input was correct, the D1 Mini restarts. You can then reconnect your computer to your normal Wi-Fi network.
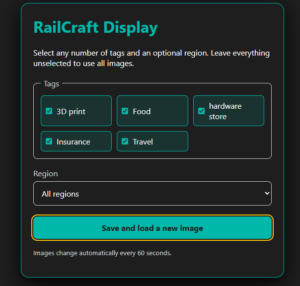
Die Werbetafel erscheint nun als eigenes Gerät in deinem Netzwerk. Du kannst sie im Browser entweder über die vom Router vergebene IP-Adresse oder über http://railcraft-display-xxxxxx.local/ aufrufen.
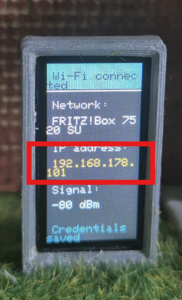
The string “xxxxxx” corresponds to the combination of letters and numbers you noted at the beginning of this step. Alternatively, after startup the display shows its IP address for three seconds.
Once you have connected to your advertising board via the browser, you can choose which posters should be displayed. Various languages and categories are available.
Have fun with your new advertising board on your model railway layout!
Install firmware
Connect the appropriate microcontroller to your computer via USB.
Open this page in Chrome or Edge, then click Install.
Select the displayed serial port and wait until the transfer is complete.
This browser does not support installation. Please use Chrome, Edge or Firefox.Installation is only possible via HTTPS or localhost.
Alternatively, you can download the firmware file and install it manually.